How to Register a JD Quest Account in 5 Simple Steps
Why Registration Matters Before You Play
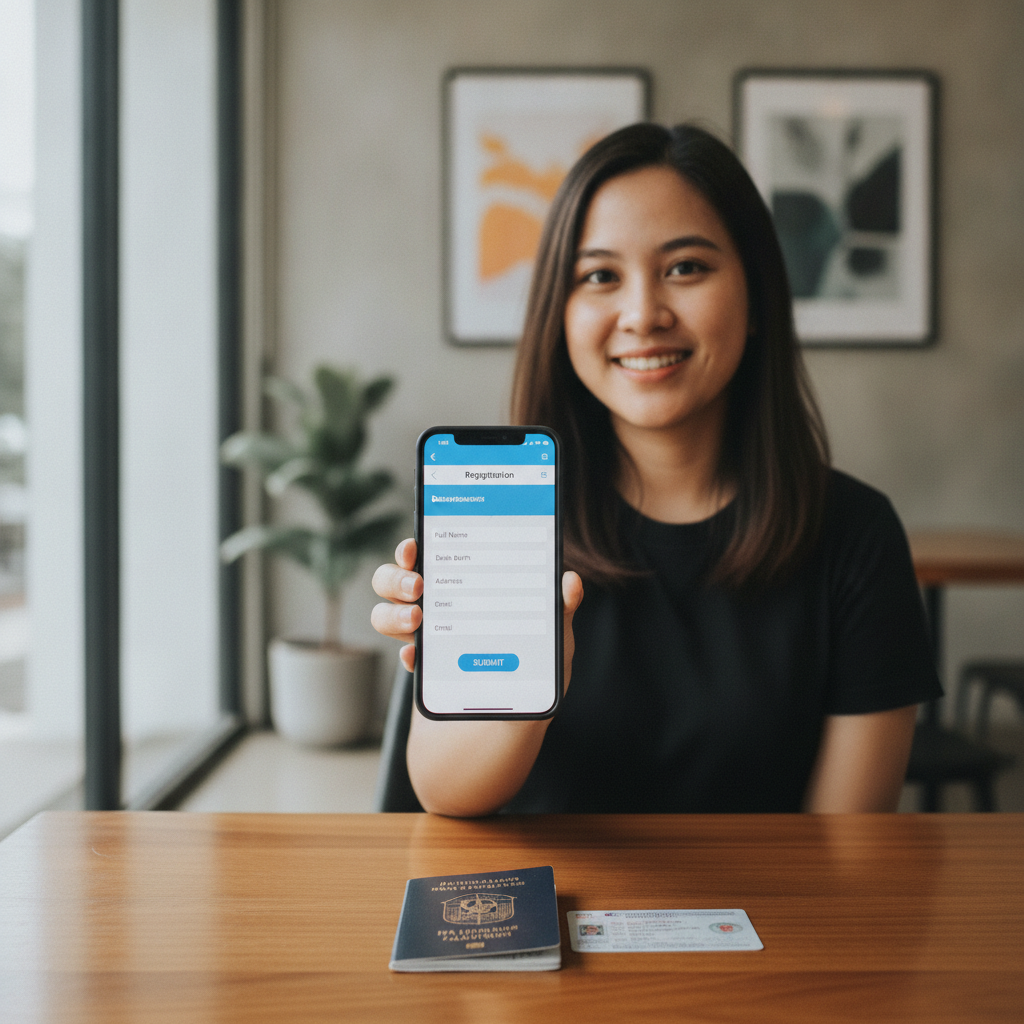
JD Quest requires every player to register and verify their identity before placing bets or playing casino games. This process confirms you are 21 years or older and helps protect your account. Registration takes about five minutes on mobile or desktop, and you only need to complete it once.
This guide walks through each step of the JD Quest register process, explains what information the platform asks for, and shows how to avoid common mistakes that delay approval.
21+ only. Gambling can be addictive. Please play responsibly.
Step 1: Open the JD Quest Registration Form
On your mobile browser or desktop, visit the JD Quest homepage. Look for the Sign Up or Register button—it is usually displayed at the top-right corner on desktop or in the main menu on mobile.
Tap or click the button to open the registration form. The form loads on a single page on mobile devices, while desktop users may see a pop-up window or a separate registration page.
Make sure you have a stable internet connection before you start. An interrupted connection can cause the form to reset, and you will need to enter your details again.
Step 2: Fill in Your Personal Details
The JD Quest register form asks for the following information:
- Full name (as it appears on your valid ID)
- Date of birth (to confirm you are 21 or older)
- Mobile number (for account verification and security alerts)
- Email address (for account recovery and updates)
- Username (you will use this for JD Quest login)
- Password (choose a strong combination—more on this below)
Some versions of the form also ask for your home address and preferred currency. JD Quest serves Filipino players, so select PHP (Philippine Peso) as your currency if prompted.
Why JD Quest Asks for This Information
JD Quest collects personal details to verify your age and identity, comply with local regulations, and secure your account. Your mobile number is used to send one-time PINs (OTPs) during login or withdrawal requests. Your email address allows you to reset your password if you forget it.
Important: Enter your real name exactly as it appears on your government-issued ID. Mismatched names will cause problems during ID verification and may delay withdrawals later.
Step 3: Choose a Strong Password and Username
Your username is what you will type when you JD Quest login, so pick something you can remember easily but that others cannot guess.
Your password should combine:
- At least 8 characters
- Upper and lowercase letters
- At least one number
- At least one special character (like @, #, $, or %)
Avoid using your birthday, mobile number, or common words like "password123." Weak passwords make it easier for someone else to access your account.
Write down your username and password in a safe place—or save them in a password manager app—so you do not forget them.
Step 4: Verify Your Mobile Number and Email
After you submit the registration form, JD Quest sends a verification code to your mobile number via SMS. You may also receive a second code by email.
- Check your SMS inbox for a six-digit code.
- Enter the code in the field provided on the next screen.
- If you also receive an email verification link, open the email and click the link to confirm your address.
If you do not receive the SMS within two minutes, tap Resend Code. Make sure you entered your mobile number correctly and that your phone has signal.
Once your mobile number and email are verified, you can log in to your new JD Quest account. However, before you can deposit or play for real money, you must complete ID verification.
Step 5: Complete ID Verification
JD Quest requires players to upload a photo of a valid government-issued ID to confirm their identity and age. This step ensures the platform serves only users who are 21 years or older and prevents duplicate or fraudulent accounts.
Valid IDs Accepted in the Philippines
JD Quest typically accepts the following:
- Philippine passport
- Driver's license issued by the Land Transportation Office (LTO)
- Unified Multi-Purpose ID (UMID)
- Social Security System (SSS) ID
- PhilHealth ID
- Postal ID
- Voter's ID (COMELEC)
- Professional Regulation Commission (PRC) ID
- National ID (PhilSys)
Some platforms also accept school or company IDs with your photo and birthdate, but government-issued IDs are processed faster.
How to Upload Your ID
- After mobile verification, JD Quest prompts you to upload your ID. You can also access this step by going to Account Settings > Verification after you JD Quest login.
- Take a clear photo of the front of your ID. Make sure all text—especially your name and birthdate—is readable.
- If the platform asks for the back of your ID as well, take a second photo.
- Upload both images. Some platforms also ask you to take a selfie holding your ID next to your face. Follow the on-screen instructions.
JD Quest reviews ID uploads manually, so approval may take a few hours or up to one business day. You will receive an SMS or email when your account is verified.
Tip: Use good lighting and avoid glare when you photograph your ID. Blurry or cut-off images are the most common reason for verification delays.
Common Registration Errors and How to Avoid Them
Name Does Not Match ID
If you enter "Juan Santos" in the registration form but your ID says "Juan Dela Cruz Santos," verification will fail. Always type your full legal name exactly as it appears on your ID.
Incorrect Birthdate
Double-check your birthdate before submitting. If you enter the wrong date, the system may reject your ID or flag your account for review.
Mobile Number Already Registered
JD Quest allows only one account per mobile number. If you see an error message saying your number is already in use, you may have registered before. Use the Forgot Password link on the JD Quest login page to recover your account.
Blurry or Incomplete ID Photos
Make sure your ID photo shows all four corners of the card and that text is sharp and readable. Crop out your fingers if you are holding the ID.
Weak Internet Connection
If the form freezes or the page reloads unexpectedly, try switching from mobile data to Wi-Fi (or vice versa). You can also close the browser and start again—most platforms save your progress if you use the same device.
What Happens After Your Account Is Approved
Once JD Quest approves your ID, you can make your first deposit using GCash, Maya, InstaPay, or PESONet. Minimum deposits are usually low—often PHP 100—so you can start with a small amount.
After funding your account, you can explore slots and jackpot games, join live dealer tables for blackjack and baccarat, or place bets on PBA, NBA, and volleyball matches. You can also try bingo and e-games if those interest you.
Account Security Reminders
- Log out after every session, especially if you share your phone or computer with others.
- Do not share your username, password, or OTP codes with anyone—JD Quest support will never ask for your password.
- Enable two-factor authentication (2FA) if the platform offers it. This adds an extra layer of security by requiring a code from your phone whenever you JD Quest login.
- Review your account activity regularly. If you see bets or deposits you did not make, contact JD Quest support immediately.
Final Checklist Before You Register
- You are 21 years of age or older.
- You have a valid government-issued ID ready to upload.
- You have access to your mobile number and email for verification.
- You are using a secure internet connection.
- You understand that JD Quest is for entertainment, and you should only bet money you can afford to lose.
Gambling can be addictive. Please play responsibly. 21+ only.
Once you complete these five steps, your JD Quest account is ready. You can JD Quest login anytime from your mobile browser or desktop, make your first deposit, and start exploring the platform's games and betting markets at your own pace.