Understanding JD Quest Account Verification: Why ID Check Matters
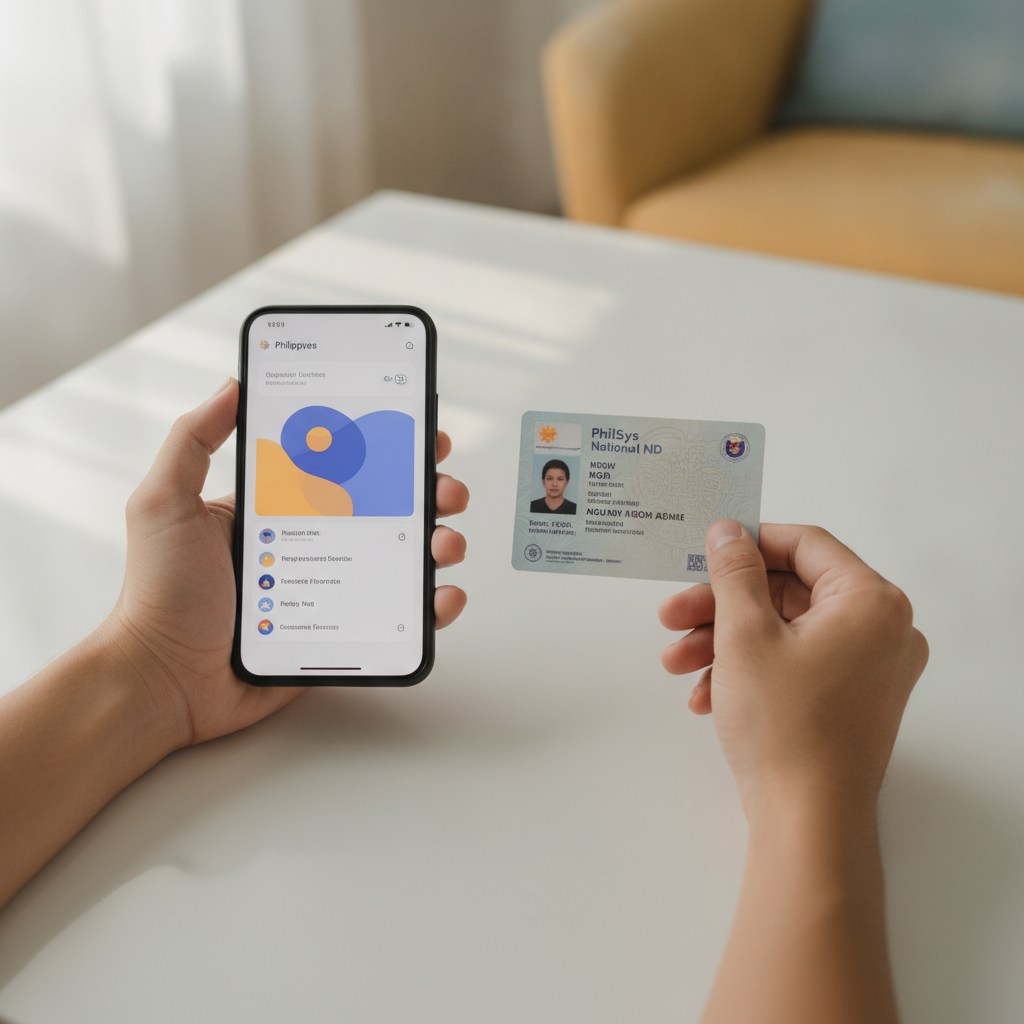
Why JD Quest Asks for ID Verification
When you sign up at JD Quest, the platform will ask you to verify your identity by uploading a government-issued ID. This step is standard across online casinos and sportsbooks operating in the Philippines and serves three main purposes.
Age verification is the first reason. Philippine law restricts online gambling to adults aged 21 and over. JD Quest checks your ID to confirm you meet this minimum age before you can place real-money bets on slots, live dealer games, or sports like PBA and NBA. Without a verified ID showing your birthdate, you won't be able to make deposits or play.
Identity confirmation is the second purpose. The platform needs to confirm that the name on your account matches the name on your GCash, Maya, or bank account. This prevents fraud and ensures that when you deposit PHP 100, PHP 500, or any other amount, the money is coming from your own wallet. It also protects your future withdrawals—JD Quest will only send winnings back to an account in your verified name.
Account security is the third reason. ID verification makes it harder for someone else to open an account using your details or to take over your existing account. If you ever need to recover a forgotten password or resolve a payment issue, JD Quest customer support will match your request against your verified documents to confirm you are the real account holder.
Verification is a one-time process. Once your ID is approved, you won't need to submit it again unless your account details change.
Accepted Government IDs in the Philippines
JD Quest accepts most government-issued photo IDs that display your full name, date of birth, and a clear photograph. The most commonly used documents include:
- Philippine Passport – The front page with your photo and personal details is usually enough.
- Driver's License – Both old card-style and new licenses issued by the Land Transportation Office (LTO) are accepted.
- UMID (Unified Multi-Purpose ID) – Issued by the Social Security System (SSS), this is one of the most widely used IDs for online verification.
- National ID (PhilSys) – The Philippine Identification System card is accepted and increasingly common.
- Postal ID – Issued by PHLPost, this remains a valid option if it shows your birthdate.
- Professional Regulation Commission (PRC) ID – If you hold a professional license (for teachers, nurses, engineers, etc.), you can use this card.
- Senior Citizen ID or PWD ID – These are also accepted, as they display date of birth and a photo.
Important: The ID must be valid and not expired. If your driver's license or passport has passed its expiry date, JD Quest may reject the upload and ask for a different document. School IDs, company IDs, and barangay clearances are usually not accepted because they lack standardized security features.
You only need to submit one valid ID in most cases. Some players upload the front and back of their driver's license or UMID to show both sides, which can speed up approval.
How to Upload Your ID on Mobile: Photo Tips and File Formats
Most JD Quest players in Metro Manila and the provinces use Android phones, so the verification process is designed to work smoothly on mobile. Here's how to upload your ID and avoid common mistakes.
Taking a Clear Photo
- Use good lighting. Natural daylight works best. Avoid dim rooms or harsh overhead lights that create shadows across your ID.
- Lay your ID flat on a plain, solid-colored surface—white paper or a clean table works well. Don't hold it in your hand; the image may come out blurry.
- Hold your phone steady and take the photo straight-on, not at an angle. Make sure all four corners of the ID are visible in the frame.
- Check the text. Zoom in on the photo before uploading. Your name, birthdate, ID number, and photo should all be sharp and readable. If anything looks blurry or cut off, retake the shot.
- Avoid glare. If your ID has a glossy laminate, tilt it slightly to reduce reflections from overhead lights. The goal is to show your photo and text clearly without white spots covering important details.
File Formats and Size
JD Quest typically accepts JPEG and PNG image files. Most Android phones save photos as JPEG by default, so you won't need to convert anything. Keep file sizes under 5 MB—most smartphone photos fall well within this limit.
If you have a scanned copy of your ID saved on Google Drive or in your phone's gallery, you can upload that instead of taking a new photo. Just make sure the scan is recent and in color.
Where to Upload
After you complete the JD Quest register process and log in for the first time, the platform will prompt you to verify your account. You can also find the upload option under Account Settings or Profile in the main menu. Tap the "Upload ID" or "Verify Identity" button, select your photo from your gallery, and confirm.
Some players prefer to take the photo directly within the JD Quest app (if you're using the mobile site, you can do this through your browser's file picker). Either method works—choose whichever feels easier on your device.
What Happens After You Submit Your Documents
Once you upload your ID, JD Quest's verification team will review it. This process usually takes 24 to 48 hours on weekdays. During peak registration periods or on weekends, it may take a little longer.
You'll receive a notification—either by email, SMS, or in-app message—when your ID is approved. At that point, your account is fully verified and you can proceed to make your first deposit using GCash, Maya, or bank transfer via InstaPay or PESONet.
If your ID is rejected, JD Quest will tell you why. Common reasons include:
- Blurry or unclear photo – Retake the image in better lighting.
- Expired document – Upload a current, valid ID.
- Partial image – Make sure all four corners and all text are visible.
- Name mismatch – The name on your ID must match the name you entered during JD Quest register. If you used a nickname or shortened version, update your account details or use an ID that shows your legal name.
You can re-upload a corrected document at any time through the same Account Settings menu. There is no penalty for resubmission, and most players get approved on their second attempt if they follow the photo tips above.
While your ID is under review, you can browse the JD Quest lobby and explore slots, jackpot games, live dealer tables, and sports betting markets for PBA, NBA, and volleyball. However, you won't be able to deposit or place real-money bets until verification is complete.
21+ Age Requirement and Responsible Gambling
JD Quest is for players aged 21 and over only. This age limit is enforced through ID verification. If your submitted document shows you are under 21, your account will be restricted, and you will not be able to play slots, live dealer games, or bet on sports until you meet the age requirement.
Online casino and sportsbook play should always be treated as entertainment, not a way to make money. Set a budget before you deposit—many players in the Philippines start with PHP 100 to PHP 500—and never bet more than you can afford to lose. If you feel that gambling is becoming a problem, seek help. JD Quest provides account controls such as deposit limits and self-exclusion options in the responsible gambling section of your account settings.
Remember: only bet what you can afford, and play responsibly.
Need help with your first deposit or learning how to play slots and live dealer games? Visit the other beginner guides on JD Quest Guide PH for step-by-step walkthroughs on making your first deposit with GCash, understanding how to read PBA and NBA odds, and tips for mobile play on Android.